When it comes to party decorations I always like to try and find new ways to incorporate the decorations into the event. One thing I love buying (even though it can sometimes be a pain to clean up) is confetti. Now when you think confetti you probably think of the traditional sparkly confetti that you will find scattered on tables and usually sticks to everything, but let me just stop you there. There are so many more ways to use confetti, especially when it comes to parties and events. I have put together some of my favorite ways that you can reinvent the use of party confetti. Have fun decorating!!
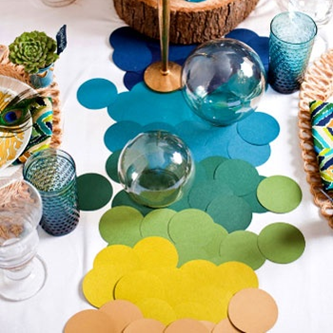
Confetti Table Runner
This might be one of the easiest decorating tricks ever and it also combines the trending ombre style. All you need is a stack of paper in the colors you want and a circle punch. Punch out as many confetti circles as you need and then arrange in a fun design on your table. Post event you can stash these cutouts in a ziplock baggie for another time.
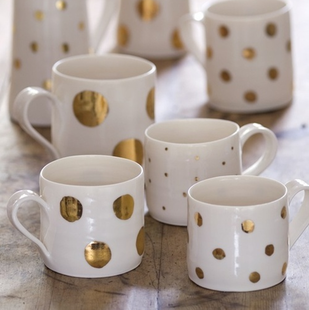
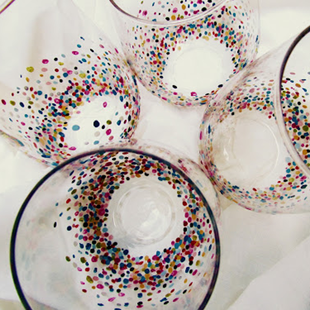
Confetti Glasses I found two great ways to incorporate the confetti decoration into your glassware and both are pretty easy to do. To create the gold confetti mugs all you need is a sharpie (the example below was created using a metallic gold one) and potentially a stencil. Draw your confetti dots onto the glassware, bake at 350 degrees for 30 minutes and then let cool in the oven. I have also seen this done on plates and other ceramics. It is such a simple way to dress up your china for an event. The second confetti cup idea, from My Two Butterflies, was inspired by Anthropologie’s Settled Confetti glassware and is a much more affordable price. To make the multi-colored confetti cups you will need glasses (you can pick up some cheap ones at a local thrift store), acrylic paint and a paint brush. Using your paint brush create your confetti pattern on the outside of the glass. Once done put your glasses in a cold oven, turn to 350 degrees and bake for 30 minutes. Instead of using a sealant this will create the seal you need and prevent the paint from chipping off. Additional tip: If the glasses are a little dusty it is best to clean them with rubbing alcohol on the outside before painting. Confetti Balloons This is one party idea that I have had pinned for quite a while and inspired this post. These confetti balloons were created for a sprinkles themed birthday party by Kojo Designs. You can find the complete tutorial with step-by-step picture instructions on how to make these balloons here. Basically you take confetti, put it into the balloon, inflate with helium and then you have a creative confetti party decoration! Confetti Napkins And the last confetti party decoration idea I have to share with you are these adorable confetti napkins from blogger, Design Mom. The linen napkins were handmade by the blogger for this confetti craft, but you could also buy plain napkins for those that may be sewing challenged (like myself). Once you have your napkins adding the confetti is pretty easy. Using the same method as the gold confetti glasses you just need paint, a dot stencil and a paint brush to create your confetti design. Let the napkins dry overnight and then you have festive confetti napkins to use at all your events! I think all this confetti means it is party time!! Which new use of confetti do you like the most? Do you have another great idea on how to incorporate confetti into an event? Let me know in the comments section below!
xoxo
Megan
You might also like...
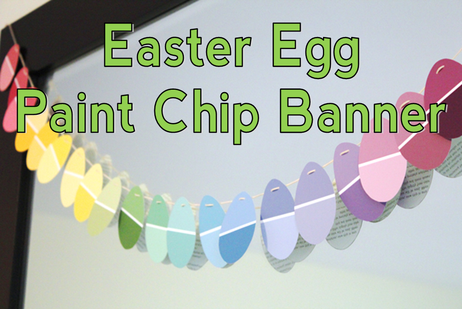
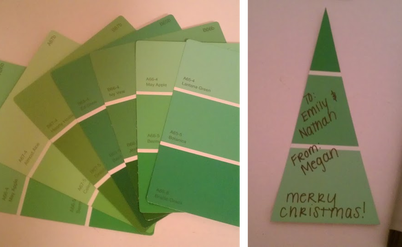
When it comes to crafting for events I like to be as creative as I can with my materials. If I can make something using “free” materials I am the happiest crafter on Earth. So, when I saw this East Egg Paint Chip Banner I could not wait to make it! This past Christmas I made gift tags with paint chips (thank you Pinterest!)
Aren’t they cute? After making those gift tags and seeing how great they turned out I could not wait to tackle another paint chip craft and this Easter Egg Paint Chip Banner seemed like the perfect craft. To make this banner it is pretty simple. You will need paint chips in a variety of colors, scissors, a pencil, a small hole punch and thread.
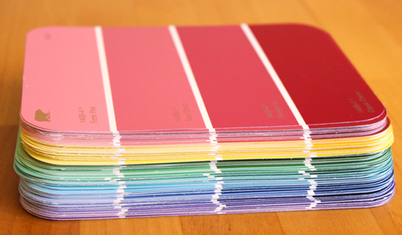
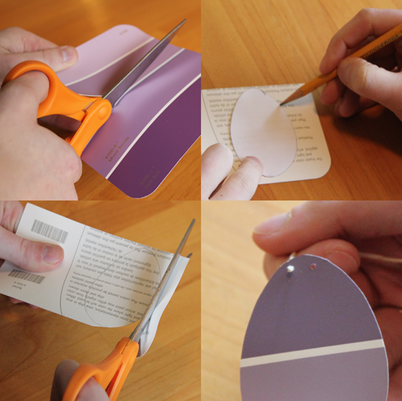
I have found that different stores have different paint chips, but I love the Behr ones from Home Depot the best. All those colors it is just so hard to decide which colors to choose! I always tell the paint people that I am starting a project and just can’t decide what colors to use if they ask if I need any help. I always find that it helps to create a stencil for these types of projects (a separate piece of cardstock works perfectly) to that you can approximately the same shape for all your eggs. Trace the egg onto the back side of the paint chips, cut them out, punch the holes and then string your eggs onto your string. (see pictures below for step-by-step instructions)
You now have the perfect Easter decoration! Now all you have to do is decide where to hang it. I’ll be down at the beach for Easter with my family but I will make sure to find somewhere to hand up my decoration.
Do you have a favorite event craft that you have made for under $5?
xoxo
Megan
You might also like…
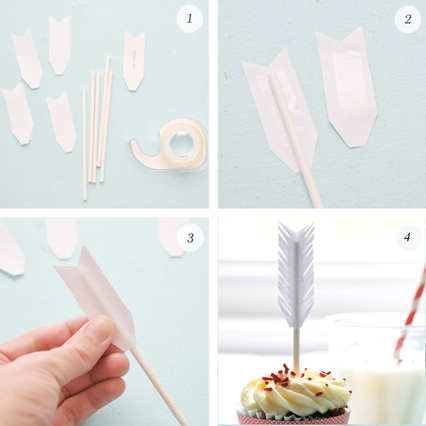
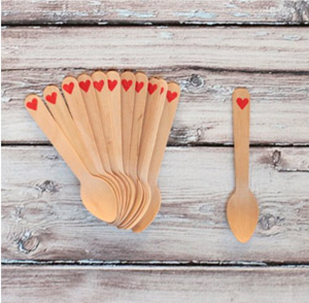
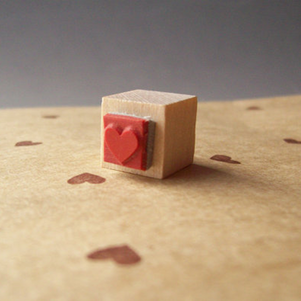
I always love when holidays are near as that always gives me the chance to craft up something cute. Valentine's Day is no exception. You can take something that you use every day, add a heart or ribbon on it and you have turned it into Valentine's Day decor! To help get you ready for Valentine's Day next week here are some great crafting ideas that will turn your party, for two or for ten, into the perfect Valentine's Day celebration!! Cupid's Arrow Cupcake Toppers Oh no! Your cupcake got shot by cupid’s arrow! This cute decoration is easy to make. You will need lollipop sticks, double-sided tape, scissors, and paper. First cut out the arrow tail, you will need 2 per topper. Next take a piece of tape and add it to each piece of paper. Lay the lollipop stick on top of one piece of paper and then cover with the second one, press the two pieces of paper together to seal the stick in. Finally cut your slits and you have created the end of Cupid’s arrow. Follow the pictures below for more step-by-step instructions from Creature Comforts. Heart Stamped Utensils Customize the utensils for Valentine’s Day this year. All you will need are wooden utensils, a mini heart stamp and some paint or ink pad. I found great options for ordering both of these items on etsy, just click on each item for the link. Just stamp each utensil with a heart on each end, or all over the utensil step, to make them ready for use on Valentine’s Day. Heart Tree Centerpiece
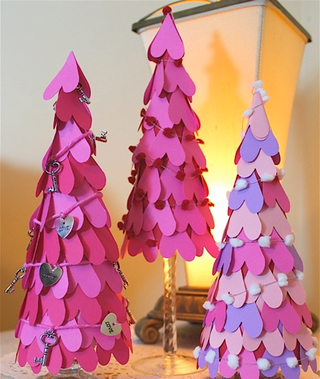
And what would a Valentine’s Day party be without an adorable centerpiece? For the perfect Valentine’s Day centerpiece this heart tree is the perfect solution. To make this tree you will need colored card stock, heart punch or scissors, a glue gun, foam cone, and a candlestick holder. First cut out a variety of hearts, with the punch or scissors, from the colored card stock. Next take your cone and start gluing your hearts on, upside down, from the bottom of the cone to the top. You can vary your colors or sizes based on how you want your tree to look. Once your tree is covered, glue your candlestick holder to create the base and add additional Valentine’s Day garland to complete the look!
Now you are ready to host an amazing Valentine’s Day party! Are you going to give any of these Valentine’s DIYs a try?
xoxo
Megan
You might also like…
For those that have seen me plan an event you know that I can’t resist crafting over buying items for the party. Christmas time is no different! This year I have been crafting quite a bit for the holidays. From cards, to centerpieces and decorations there is nothing that I won’t try to make. Here is a great mantelpiece display and table centerpiece that I have made this year from empty wine bottles. For each craft remove the bottle’s labels and make sure they have a clean surface.
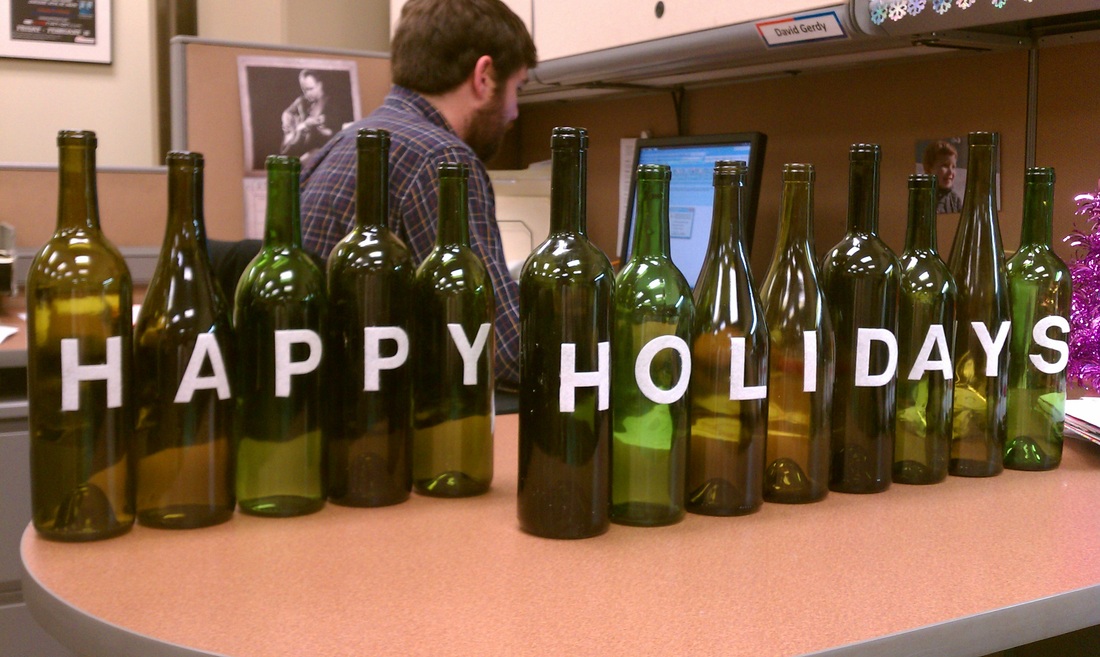
Holiday Mantle Display
This holiday craft is great to make as it fills up a mantle or can make for festive background décor on a buffet table. To make this display you will need:
- felt letter stickers
- spray paint
Choose your holiday saying that you would like to display, I chose “Happy Holidays.” Pick out which bottles you want to use and line them up in the order you would like to have them displayed. I chose all green bottles so that the letters would all be a similar shade once the letters were removed. Place one letter on each bottle. Spray each bottle so that it is covered. Once dry remove the letter stickers and you are ready to display your creation!
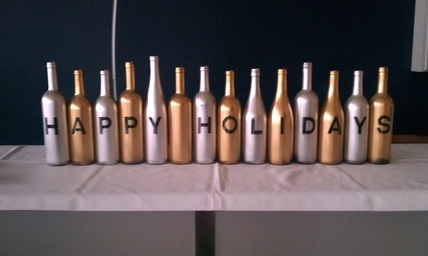
Holiday Table Centerpiece
For those that want a little snowy display this is the perfect craft for you. To make the centerpiece you will need:
- white spray paint
- spray adhesive
- Epson salt
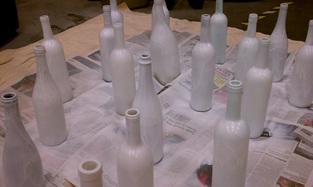
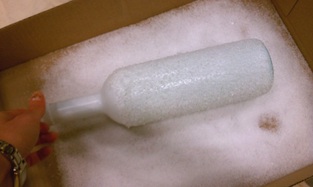
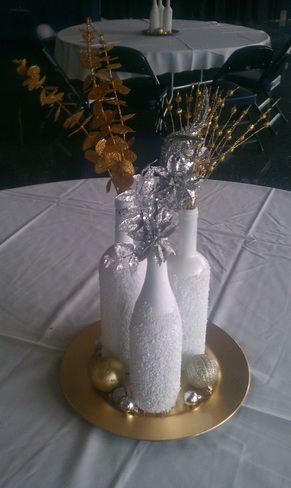
Paint the wine bottle white. Once dry spray the adhesive onto the area you want to make look snowy. Pour Epson salt into a try or box and then roll the bottle over the Epson salt until covered. Press firmly onto the Epson salt to make sure it adheres. Once dry you are ready to display! I displayed 3 bottles together on a gold charger, added silver and gold sparkly floral stems into the bottles and some gold and silver ornaments around the plate.
I made both of these crafts for my office holiday party that is today. They are both budget friendly crafts and easy to customize based on the party’s color palette. Let me know if you try your hand at making either of these wine bottle crafts. I would love to see your end results! Do you have a favorite holiday craft you like to make? Happy Holidays!!
xoxo
Megan
You might also like…
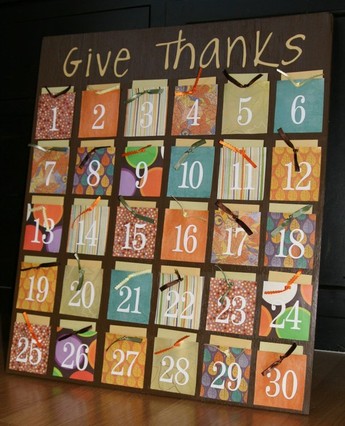
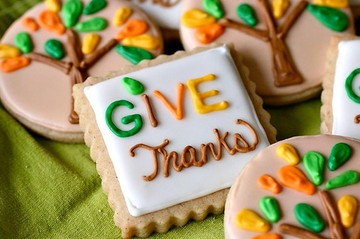
November is a time when a lot of us remember to give thanks for everything and everyone that is a part of our life. Starting on November 1st I saw quite a number of my friends start listing a daily “I am thankful for…” statement on their Facebook profile. Today I have found some great ideas on how you can show what you are thankful for. Give Thanks Calendar. A fun family activity that you can create yourself is this give thanks calendar. Each day you can write down what you are thankful for and then at the end of the month pull them all out and read them. Save all your cards for the following year and you can continue adding new thanks each year. You can make your own by following these step-by-step instructions from Jellybean Junkyard. A Thankful Tree. Create or buy a tree that you can hang small tags all over like this one from Simply Vintage Girl. Any one that comes to your house, office or classroom can see the tree and write what they are thankful for and hang it on the tree. Once filled with “thanks” the tree makes a great room decoration. Give Thanks Cookies. Making a small treat and giving it away to those that you are thankful for is an easy way to show your thanks this month. You don’t have to get as creative as these cookies from Annie’s Eats as anything that you take time out to put together will be appreciated by all who receive them. What are you thankful for? Do you have a fun way to share what you are thankful for? Share your ideas below! Don’t forget Thanksgiving is just 2 short weeks away!!!
xoxo
Megan
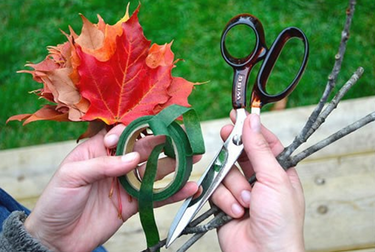
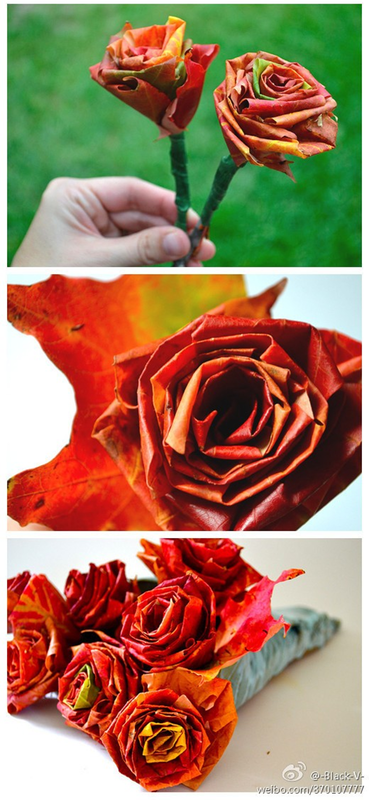
When browsing through all the new fall party ideas out there I came across an amazing DIY craft idea that will turn all those fall leaves into a gorgeous floral centerpiece. So next time you are outside start gathering those red, yellow and orange leaves so that you can make your own fall centerpiece to enjoy during any occasion.
To make this leaf floral bouquet you will need:
- leaves
- floral tape
- scissors
- twigs
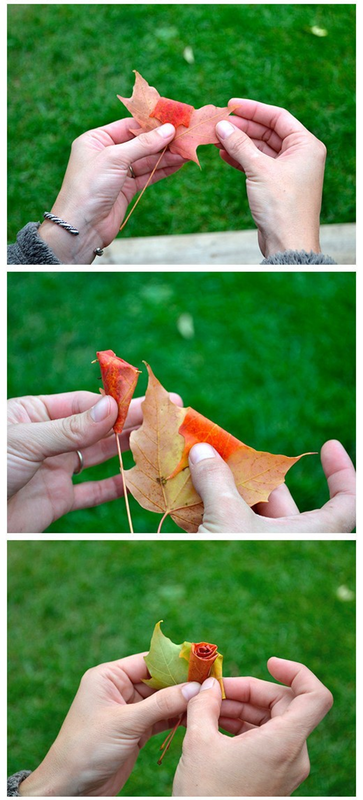
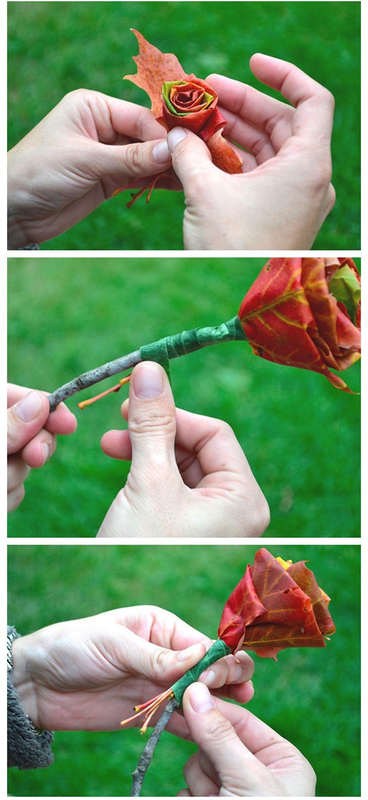
- vase to display your finished arrangement Now to create your flowers follow this step-by-step tutorial below. Before you start here is a helpful tip: I found that the fresher the leaves were (aka not crunchy) the easier they were to work with. To start your flower take the leaf and fold the middle section down. Then take the right side, fold it down and then from the side roll it towards the center vein. Repeat with the left side. Take your second leaf and fold down the middle as before. Place the first leaf in the center then take the right and left sides, fold them down and roll like the first leaf. Repeat until you get the size flower that you want. After you finished creating your flower, take a small piece of floral tape and secure the steps of the leaves together. Finally select your twig and attach your flower to its stem. And voila! You have your first flower of your autumn bouquet!
This DIY craft will save you a bundle compared to the price of flowers and with all the scented oils out there you can make your leave arrangement have a wonderful autumn smell. Just add a few drops of your favorite fall scent to the arrangement and the bouquet will smell amazing! What is your favorite fall aroma?
xoxo
Megan
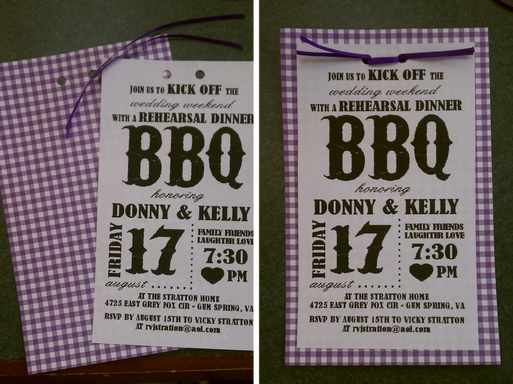
Happy Monday! This past weekend was a crazy one for me by far. You can probably tell from today's blog title that I I did a number of different things. On Friday I helped my friend Vicky make the invitations for her son's rehearsal dinner that she is hosting. These invitations were so much fun to design and make. To start the paper and ribbon were bought at Michael's. Since this is going to be a BBQ dinner we thought it would be cure to have a checkered patterned paper. Next I created the information part using Publisher. Once that was designed and printed I cut the information sheets and checked paper down to the size we wanted. I left a little more than a half inch border of the checked paper around the typed paged. To attach the two you layer the papers on top of each other and using a single hole puncher cut the holes out. To attach the two pages I threaded ribbon through the punched out holes to get the finished product!
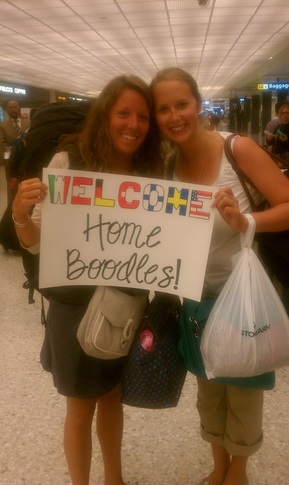
The best part of my Friday, even though I thoroughly enjoy crafting, was going up to DC to pick up my sister (on the left) from her trip to Europe. I made the sign for her incorporating all the flags of the different places she visited. Can you name all the countries? She loved the sign and the fact that she was finally back and could get some rest from their non-stop adventure.
Even though I had a late night driving back from DC on Friday I was up bright and early on Saturday to go and work a wedding! The reception was held at the Hanover Arts and Activities Center in Ashland, Virginia. Even with the rain all day on Saturday it was a beautiful reception and the guests had lots of fun! The wedding had about 100 guests with a very laid back and relaxed feel. The bride and groom just wanted to have fun with their guests. To create that fun atmosphere for their guests they hired an amazing DJ, Bill Gilliam from Choice Entertainment, who made sure that everyone was out on the dance floor having fun.
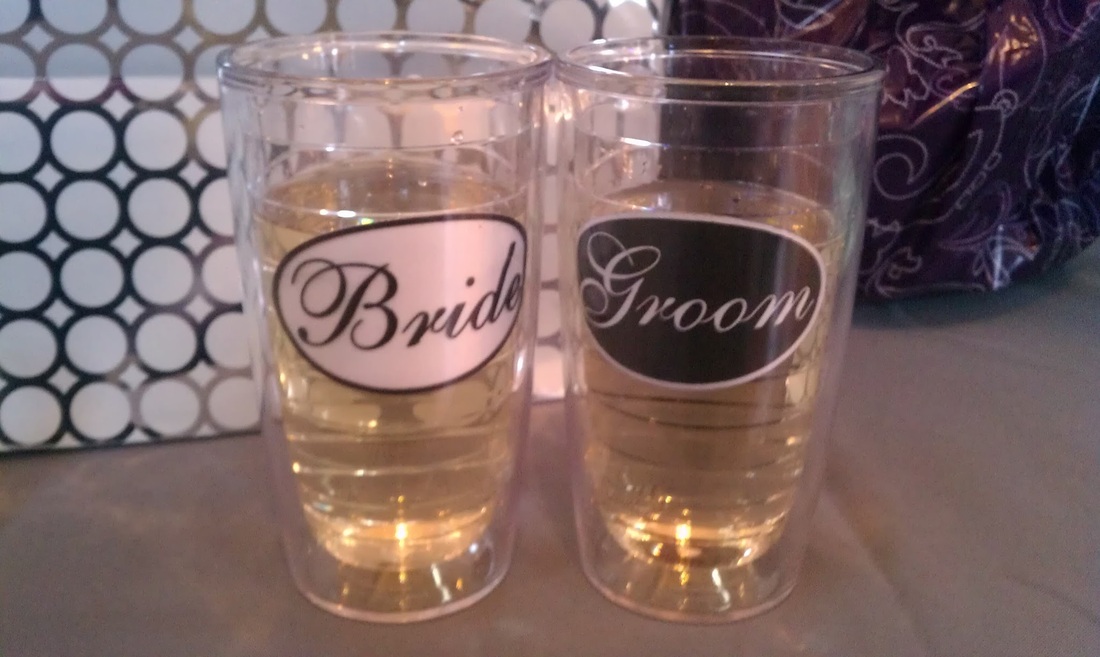
I love when the bride and groom include fun little aspects into their big day. They had the cutest tumblers that they used as their cups for the evening and also made their own favors. The groom always liked to goof around and wear fake mustaches so they made chocolate mustaches on a stick for all their guests to take with them. Anything chocolate is good in by book! I had so much fun this past weekend. Do you go to any events this past weekend?
This week I have some great posts to share as I count down to the opening ceremony of the 2012 Summer Olympics in London on Friday. The swimming events are my favorite to watch. I could not imaging all the work that goes into planning an event as world wide as the Olympics. What Olympic events are you most looking forward to watch?
xoxo
Megan
Being asked to be in a friend's wedding is a wonderful honor, however it also comes with a lot of responsibility and a time commitment. As the bride, a nice way to say "thank you" to your bridesmaids is by putting together a small gift that they will be able to hold onto and cherish. This past weekend's wedding Emily, a family friend and I made gifts for each of the bridesmaids to use for the wedding. The gift doesn't have to be anything expensive or store bought. Each of these are easy DIY projects that any bride-to-be could put together.
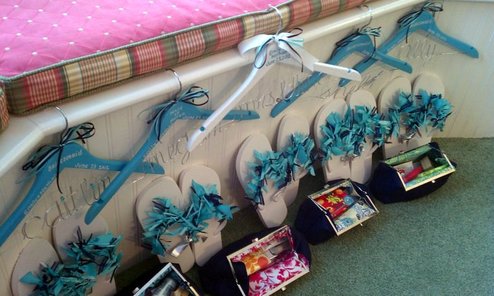
1. Ribbon Flip Flops 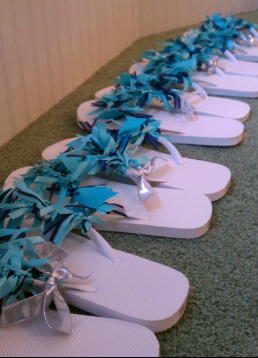 This is an easy craft that you can make for your girls. These flip flops can be bought at any craft or dollar store for under $5 apiece. These were done with ribbon in the wedding colors of navy and pool blue. Each strip of ribbon was tied in a knot onto the strap. You can add as many colors or types of ribbon until the straps are filled. Each of these pairs were tied together with a silver bow so the sets would stay together nicely.
2. Dress Hangers
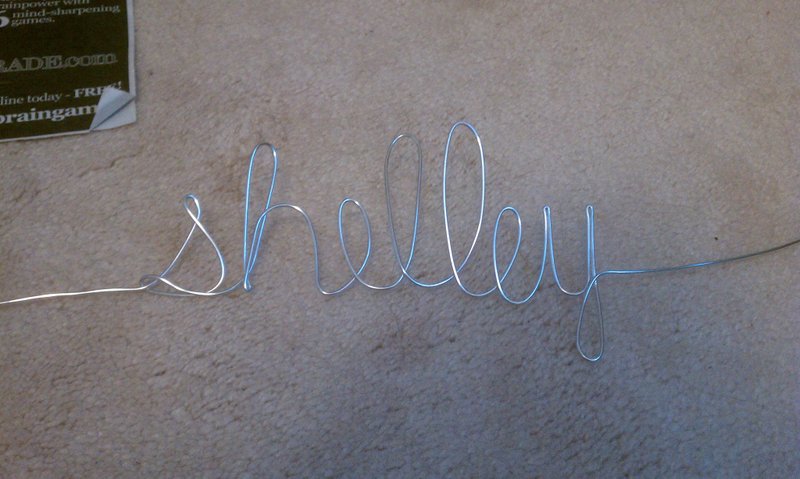
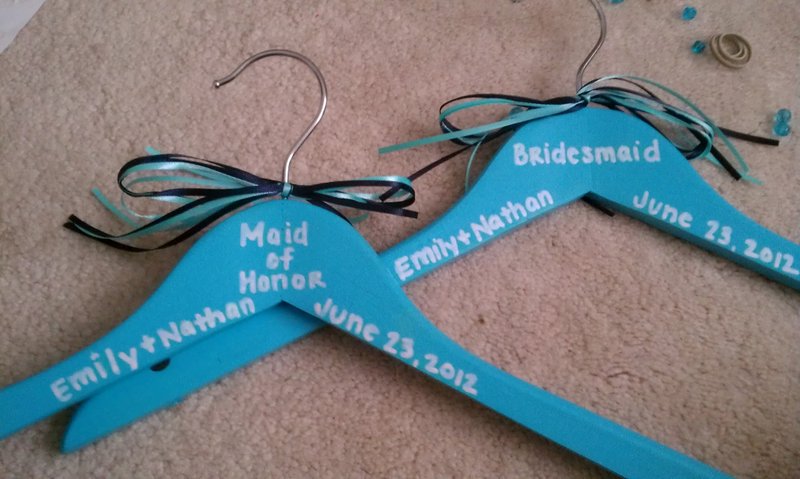
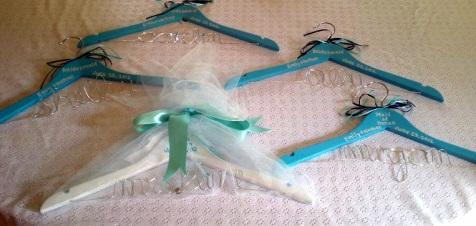 This DIY craft I made for the girls. The white hanger is the one I made for Emily (the bride) and it says "Mrs.Kline" while the others all say the Bridesmaid's first name.
I bought the hangers as a set of 5 from Bed Bath & Beyond (don't forget your coupon!). For the names I used 14 guage wire that I picked up at the craft store.
The wire is easily to bend. I found it useful to write out the size you wanted to make the letters and to use that as a guide. If you mess up the wire is cheap enough that you can just start again. I decided to paid the hangers so that the writing would show up better. Just remember if you paint the hangers with acrylic paint to also spray them with a sealant so that paint does not rub off onto the dresses. As a final touch I tied ribbon onto the hangers in the wedding colors.
3. Fabric Cluth  The third DIY craft is one that the bride made for all of the bridesmaids as our thank you gift. This is a Martha Stewart Craft that she found on the website. The outside of each girl's purse was the wedding navy color while the interior fabric was custom selected. (If you haven't guessed my favorite color is pink, and doesn't the purse go well with my blog theme?) The bride filled our clutches with various items that we might need the day of the wedding and also made these drop earrings for us to wear on the wedding day.
You can find instructions on what you need to make this clutch on Martha Stewart. You can find a video tutorial that you can follow on how to make them.
As you can see below everything turned out great together! We danced the night away in our flip flops and have great keepsake items that we can use and remember the wedding by.
What have you given or received as thank you gift for being in a wedding?
xoxo
Megan
Happy Monday everyone! I had such a crazy, non-stop weekend at my friend's bachelorette party. I could not wait to share the weekend recap with you.
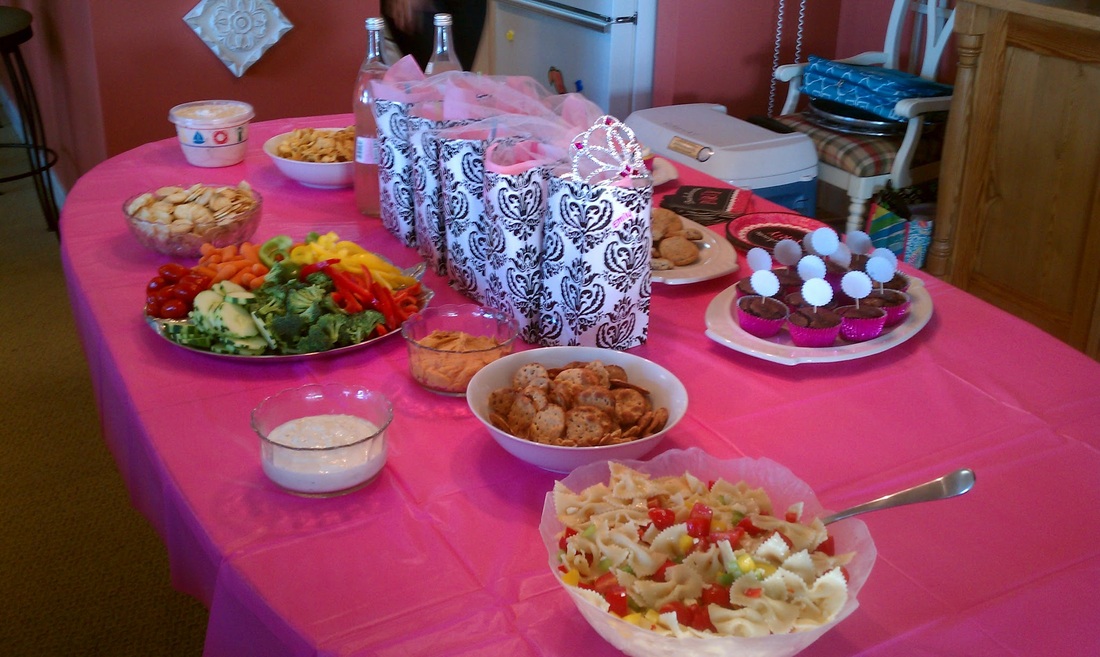
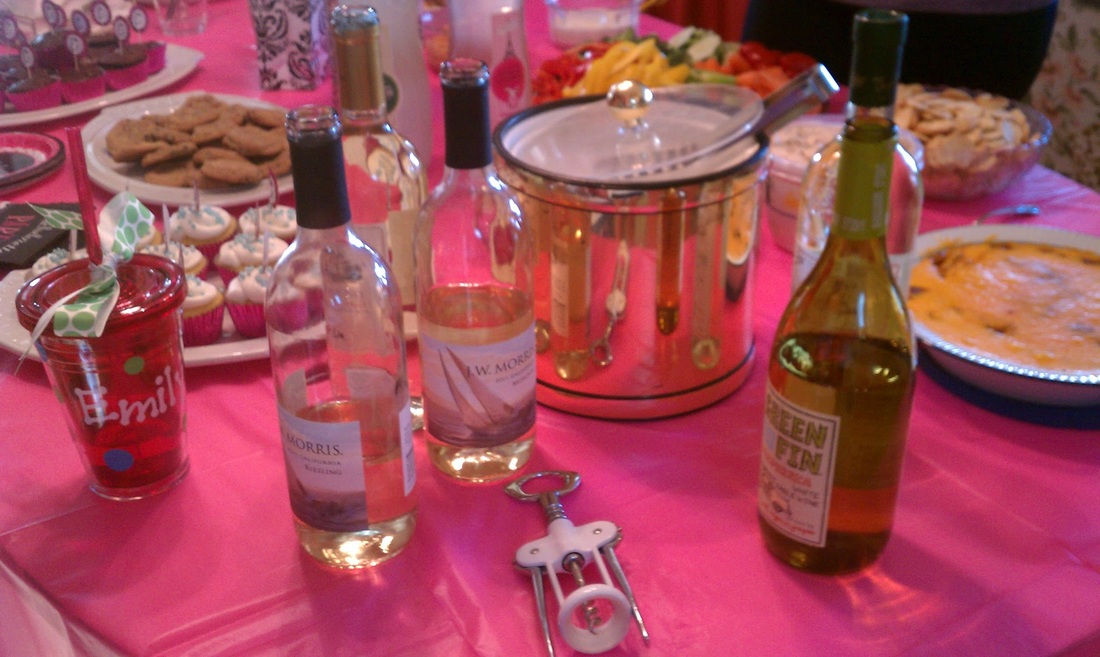
Friday night when everyone got there we had dinner and drinks.
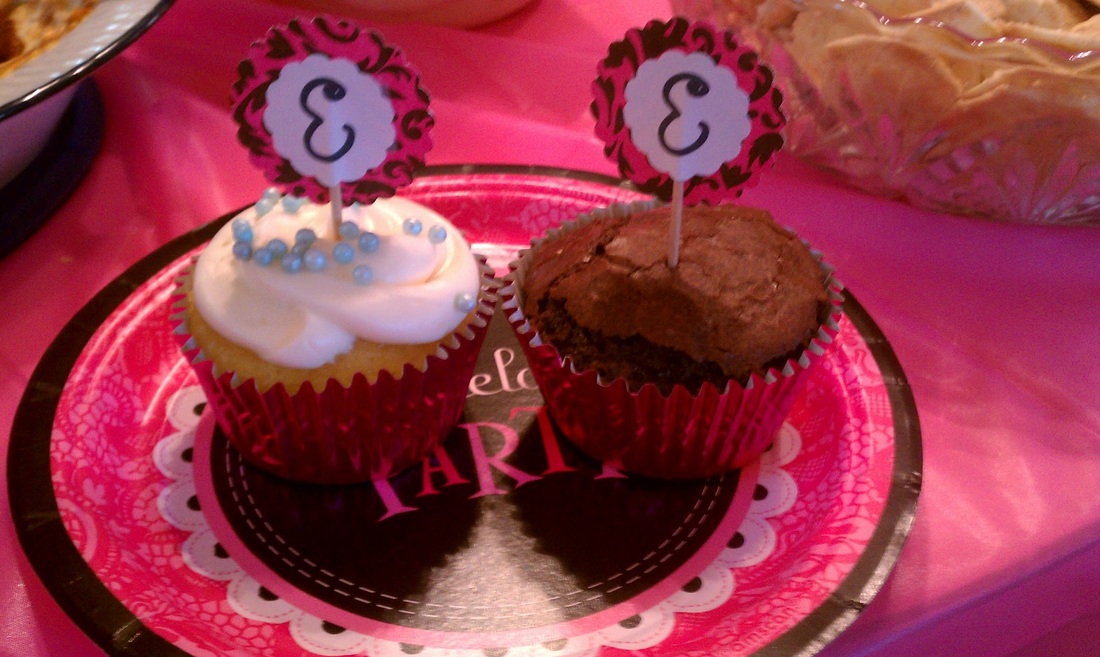
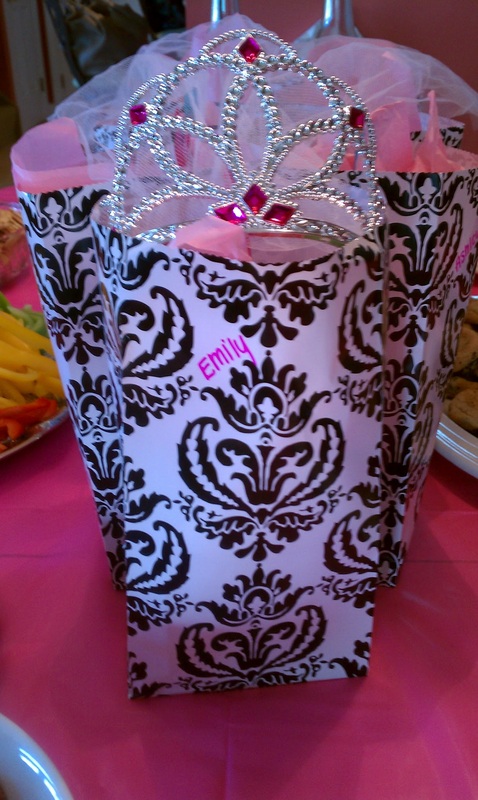
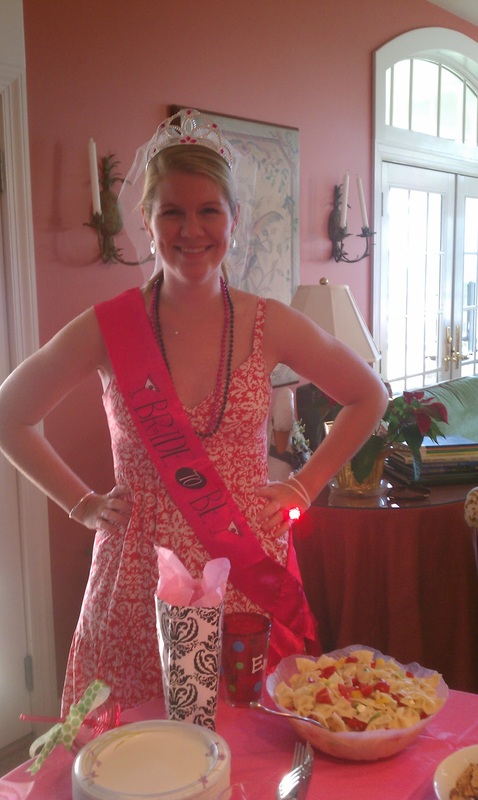
Can't forget those yummy desserts. I made the dessert toppers in just a few easy steps for the occasion. Or you can buy them off of etsy.To make the dessert toppers I bought a sheet of scrapbook paper, printed out a sheet of "e's", bought 2 different sized paper punchers and bought some toothpicks. I used a 1.5" punch for the colored paper and a 1" punch for the "e." I then took the "e" put a piece of tape on the back, centered the toothpick on the printed paper and then attached the "e" to the printed paper. Here are the favor bags that I put together. And of course the Bride-to-Be all blinged out!
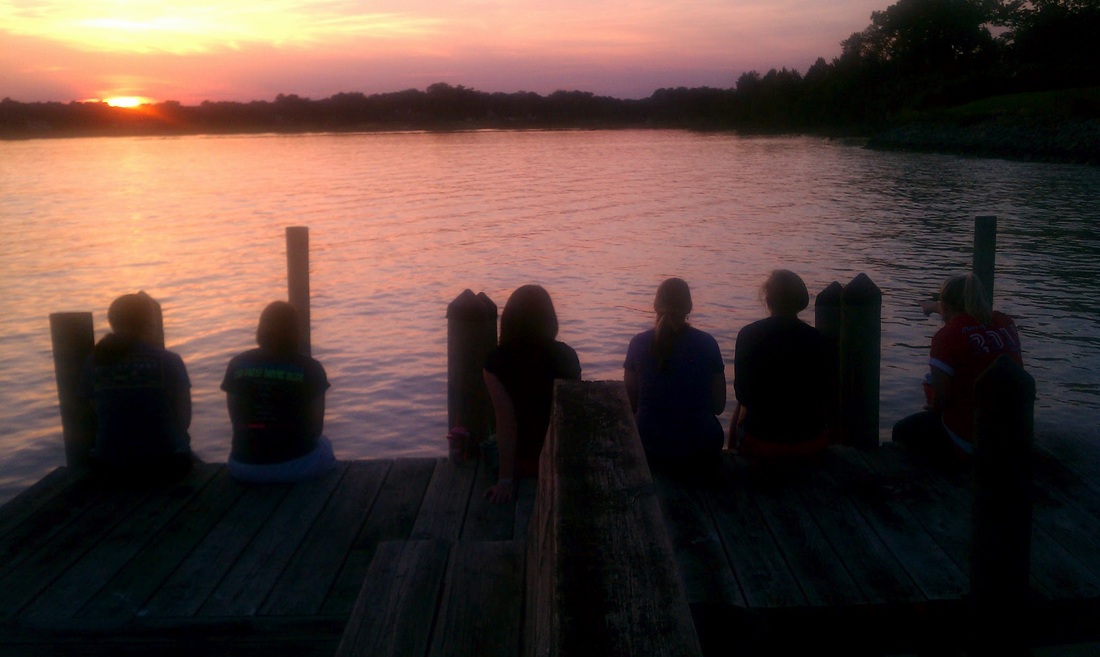
After dinner we all went down to the dock to watch the sun set before we kicked off the night.
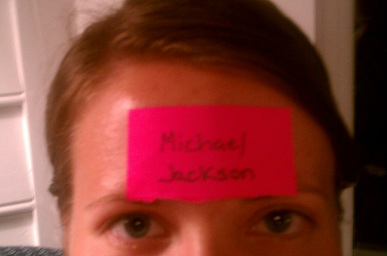
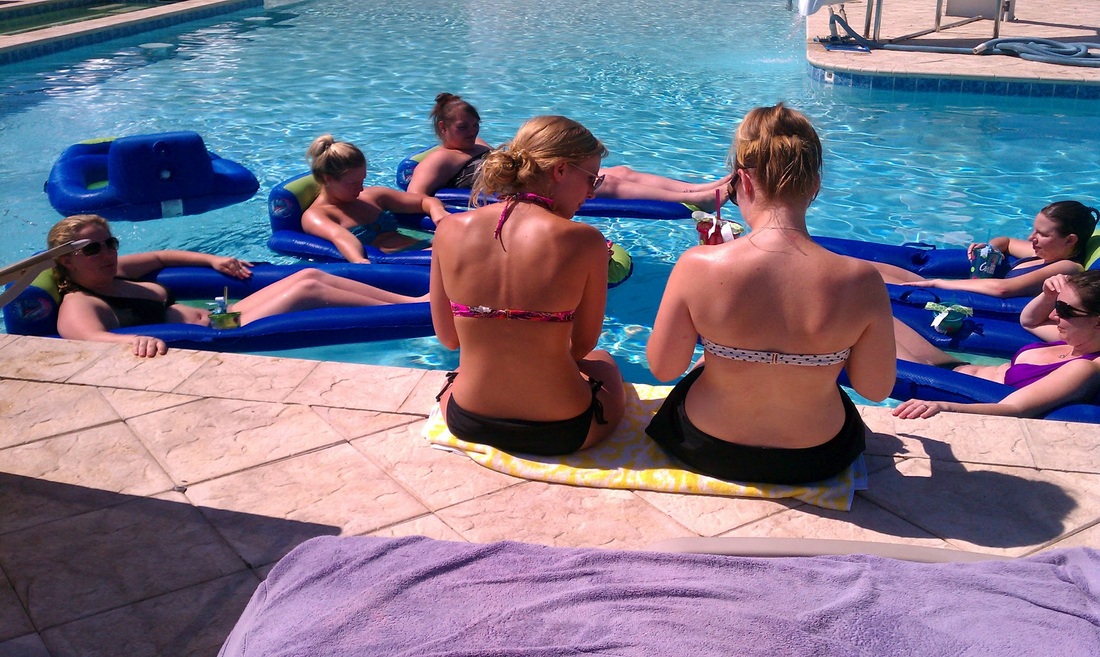
We played a few rounds of "Who Am I." I was Michael Jackson during one of the rounds. Here are some other great game night ideas from Lauren Conrad. The next day we started out with some drinks and pool time.
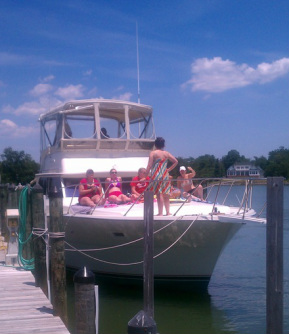
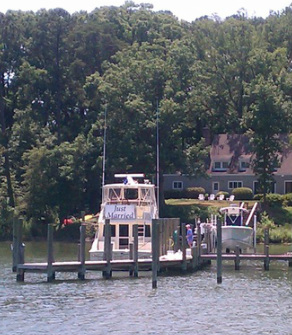
Followed by a trip out on the boat. We even got to see another wedding all set up for Saturday evening and the "Just Married" sign on the boat they would be departing on.
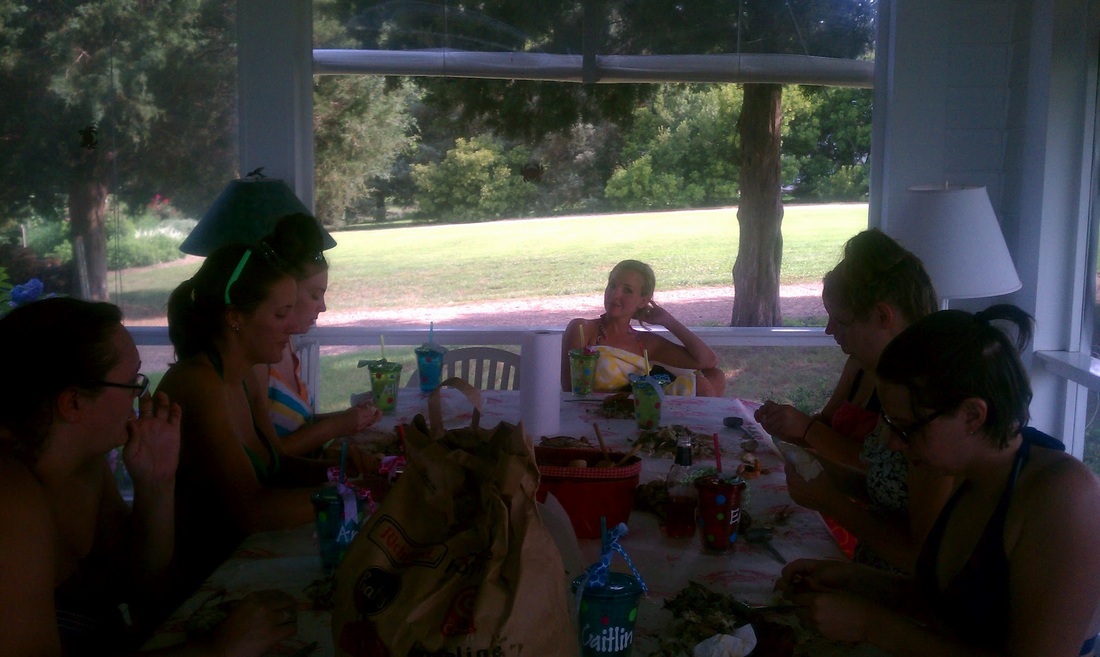
Enjoyed some Chesapeake Bay blue crabs, a river staple.
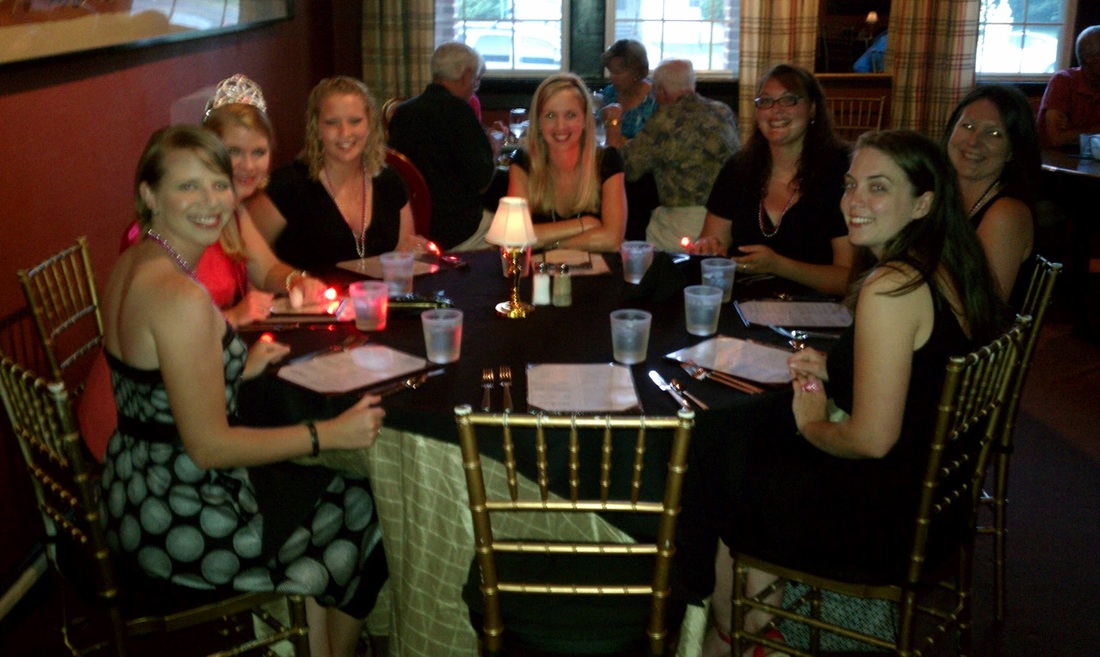
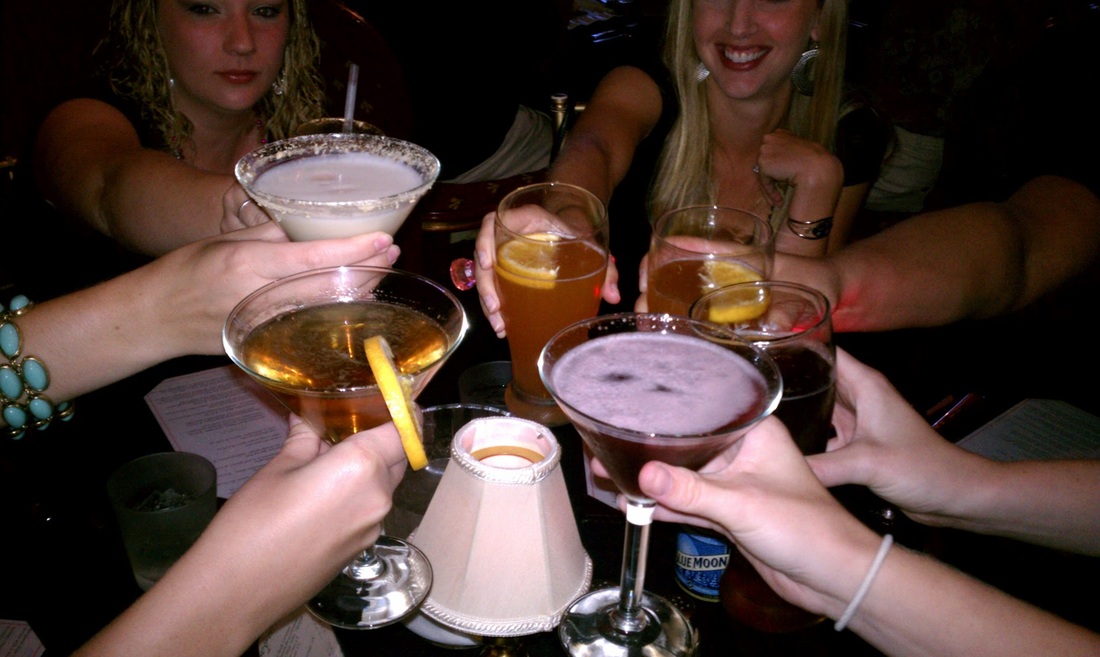
And then went out for a night on the town. All the girls and I wore black with the bride-to-be in a bright colored dress, which I think looks amazing in pictures. Cheers!
The Bride-to-Be and her bridesmaids as well as a picture of the Bride with her MOH.
So last night I finally got around to going to an Innsbrook Afterhours concert and had so much fun. Gretchen Wilson, 3 Doors Down and ZZ Top performed and the weather could not have been better. Here is a picture of my BBF Wanda and I with ZZ Top performing in the background.
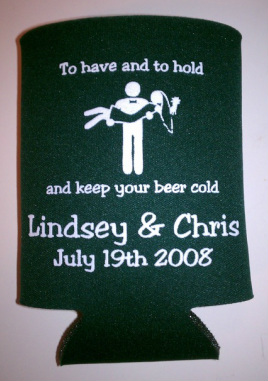
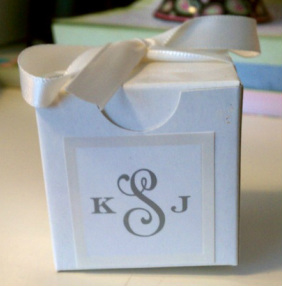
Now that I have regained my hearing from last night I have something fun to share with you today! As with any occasion the host normally get or makes favors for all those in attendance. Wedding favors can range from the bride and groom donating to a cause that’s important to them, a box of candy, a jar of homemade jam or a personalized favor. Here are some favors that I have from past events:
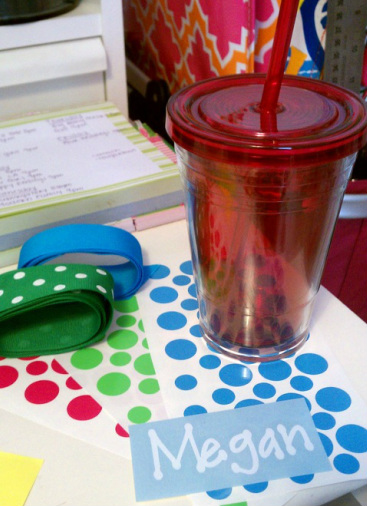
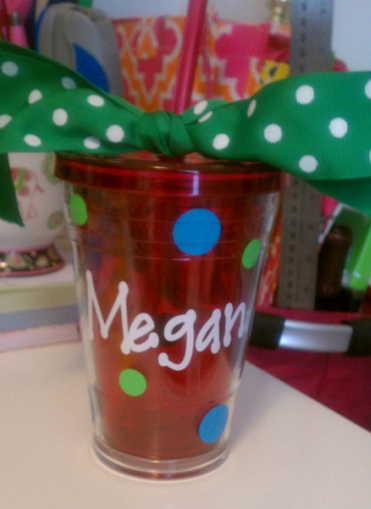
So as I have been sharing I am planning a bachelorette weekend for my BFF Emily, who is getting married in 2 ½ weeks. (yea!!) Here is a little craft that I have put together for all the girls going on the bachelorette trip this weekend. I found the tumblers from Walmart, bought the ribbon from a craft store and ordered the vinyl decals and stickers from etsy store We Speak Vinyl. Here is the final product. Now I only have 9 more to make! I will share all the finished products next Monday during my weekend recap of the whole weekend. What favors have you made or received from an event? Share a link to your picture below or tag it @PreppyPlanner on Pinterest. I love finding new ideas for favors and you can find some more of my favorites on Pinterest.xoxoMegan
|


 RSS Feed